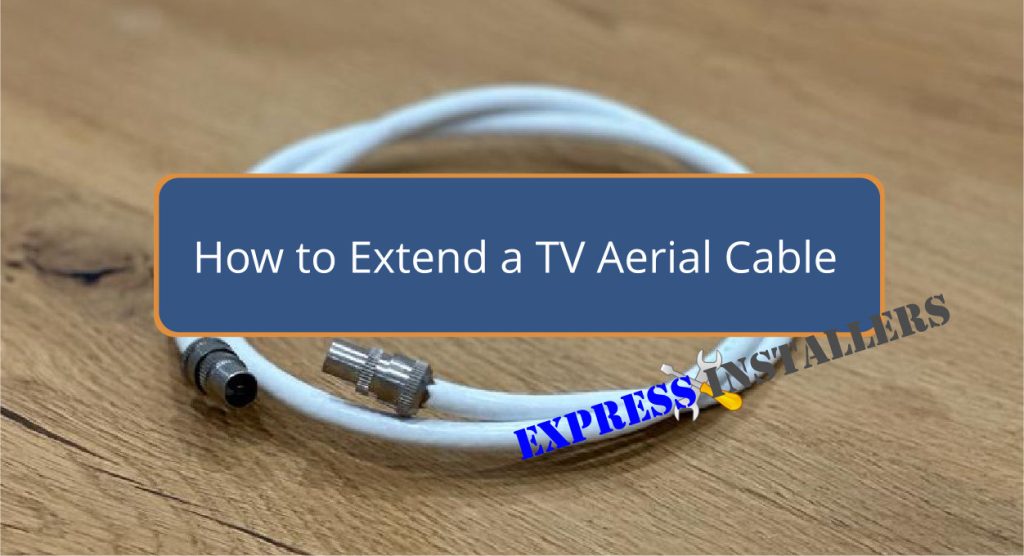
First, to extend your TV aerial cable, gather a coaxial cable splitter, a coaxial cable with F-type connectors, a cable compression tool, and a cable stripper.
Start by stripping 1 inch of insulation from both cable ends. Then, attach the F-type connectors securely, using the compression tool to crimp them tightly.
Strip another 1/2 inch of outer insulation for connection and slide the connector onto the cable, ensuring it’s crimped tightly.
Test the signal, check for interference using a multimeter, and adjust cable routing if necessary. For a detailed guide on boosting signal quality and troubleshooting, continue below.
Firstly, we’ll review what you need to Extend TV Aerial Cables. You’ll need a coaxial cable splitter, a coaxial cable with F-type connectors, a coaxial cable compression tool, and a coaxial cable stripper.
These tools and materials help guarantee seamless and professional TV aerial extension.
First, the coaxial cable stripper is essential for effective cable stripping. It removes the outer cable insulation without damaging the centre conductor, which is necessary for maintaining signal integrity. You should strip approximately 1 inch of insulation from both ends of the cable.
Next, F-type connectors attach the stripped cables to the splitter. Connector crimping plays an important role here. It would be best to secure these connectors using the coaxial compression tool.
Proper crimping ensures a tight fit, minimising signal loss and interference, which is crucial for high-quality TV reception.
A TV coaxial cable compression tool is indispensable for this task. It crimps the connectors tightly, maintaining a secure connection.
Signal testing is the last step. After connecting everything, you can test the extended cable with your TV to ensure there is no interference or signal loss. If the signal remains strong, your extension is successful.
Begin by carefully using the coax cable stripper to remove approximately 1 inch of insulation from both ends, keeping the centre conductor intact.
During cable preparation, exercise caution to avoid nicking or damaging the centre conductor, as this could impact signal quality.
After insulation removal, follow these steps:
Proper cable preparation and insulation removal are vital for a lasting, high-quality connection. Pay close attention to the centre conductor during these steps to avoid issues later.
Using F-type connectors and a compression tool will help create a secure connection, while signal testing and interference checks will validate the setup’s integrity.
Connecting the cables involves securely fastening the F-type connectors to the coax cable ends to guarantee the best signal transmission. Start by stripping about 1/2 inch of the outer insulation to expose the inner wire and shielding.
Slide the F-type connector onto the cable, ensuring the inner wire protrudes slightly from the connector. Use a compression tool to crimp the connector plug tightly in place, which helps prevent signal loss.
Consider cable length considerations, as longer cables can degrade signal quality. For peak performance, keep cables as short as possible. Implement Aerial signal boosters if the signal weakens over long distances.
Proper cable management is essential to avoid tangling and interference. To minimise interference, secure the cables with clips or ties, keeping them away from power lines.
For outdoor installations, explore weatherproofing options such as waterproof connectors and protective enclosures to shield the connections from moisture and harsh weather conditions.
Lastly, be prepared for potential issues by learning some troubleshooting tips. Common problems include loose connections and signal interference. Regularly inspect and maintain your setup to ensure consistent performance.
After securing the F-connectors and managing the cable, it’s time to test the setup to guarantee the best signal transmission.
Begin with signal testing by turning on your TV and accessing the setup menu to scan for channels. Confirm that the TV receives all expected channels without interruptions.
Next, perform cable continuity verification. Use a multimeter to check for a proper connection from pin to pin and base to base. This ensures there are no breaks in the cable that could degrade signal quality.
Check the secure attachment of all F-connectors and F-couplers. A loose connection can lead to poor signal transmission.
Give each connector a slight tug to confirm they’re firmly in place. Proper crimping is essential for stability, so make sure they are tightly crimped or screwed.
To prevent signal interference, inspect the cable routing. Avoid placing the cable near devices that emit electromagnetic interference, such as microwaves or cordless phones.
Finally, troubleshoot any persistent signal issues by:
Yes, you can extend a TV aerial cable. Use weatherproof connectors and proper routing to avoid interference issues. Opt for high-quality cable types and consider signal boosters to maintain signal strength, especially in areas with weak reception.
To guarantee the strength of your antenna cable, choose a high-quality 75-ohm cable type to maintain signal strength. Use durable connectors to prevent weather impact. For best results, ensure proper aerial positioning and invest in pre-made leads.
To extend your cable TV to another room, use a cable splitter and install wall mounts for neatness. If unsure, seek professional help to guarantee the best setup and performance. When splitting a cable, a booster might be needed to maintain signal strength.
Use coaxial connectors to join two TV aerial cables. Guarantee high cable quality and consider signal boosters for peak performance. Utilise a splitter and follow weatherproofing tips to protect connections from the elements.
You’ve successfully extended your TV aerial cable. With the right tools and careful preparation, you have a solid connection that guarantees excellent signal quality.
By following these detailed steps, you’ve enhanced your TV viewing experience without unnecessary hassle. Proper cable management and secure connections are vital to maintaining signal integrity.
Enjoy your newly positioned TV and the improved reception that comes with it. Great job on tackling this project with confidence!
Mon-Fri: 24 Hours
Sat: 24 Hours
Sun: 24 Hours